Showing posts with label Daisy Delight. Show all posts

Tuesday, July 2, 2019

A Daisy Birthday - The Paper Players #448

Happy Canada Day everyone.  Canada is 152 years young and all over the country people were celebrating.  And what a perfect summer day it was!

I spent the day on my patio surrounded by the plants in my garden, plants that are desperately trying to bloom after a cool rainy Spring.  My daisies are not yet blooming and I look forward to their appearance.

For the Tic Tac Toe challenge at The Paper Players # 448 I decided to use Daisies as my floral element for the vertical column of the challenge.  The other two elements in the column are the use of punched shapes, and ribbon. 

My friend is having a birthday soon, so this will be my card for her.


The thick Whisper White card base is layered first wotj some Daffodil Delight card stock and then a Whisper white layer embossed with the new Eyelet Lace embossing folder.  That folder had been  brayered  with Daffodil Delight ink making for a delicate lacy layer, a perfect foil for the Daisy flowers.


Three Daisy flowers were made using the new Medium Daisy punch.  Each flower was made by punching two flowers, shaping the petals with a bone folder and then adhering them together alternating the petals.  Leaves were stamped using the Daisy Lane stamp set, fussy cutting them, and adhering a Leaf to each Daisy.  Before adhering them together, Daffodil Delight was applied in the centers of the punched Daisies using a finger dauber. A Daffodil Delight glitter gem was added to the center of each flower.

The Daisies were adhered to an embossed  3D Oval Heirloom Frame, the top of which was sponged with Daffodil Delight ink.  The birthday sentiment, from Beautiful Day, was added in the center of this frame.


To finish the card, a bow was made using the 5/8" Polka dot organza ribbon and adhering it to the top of the oval die.


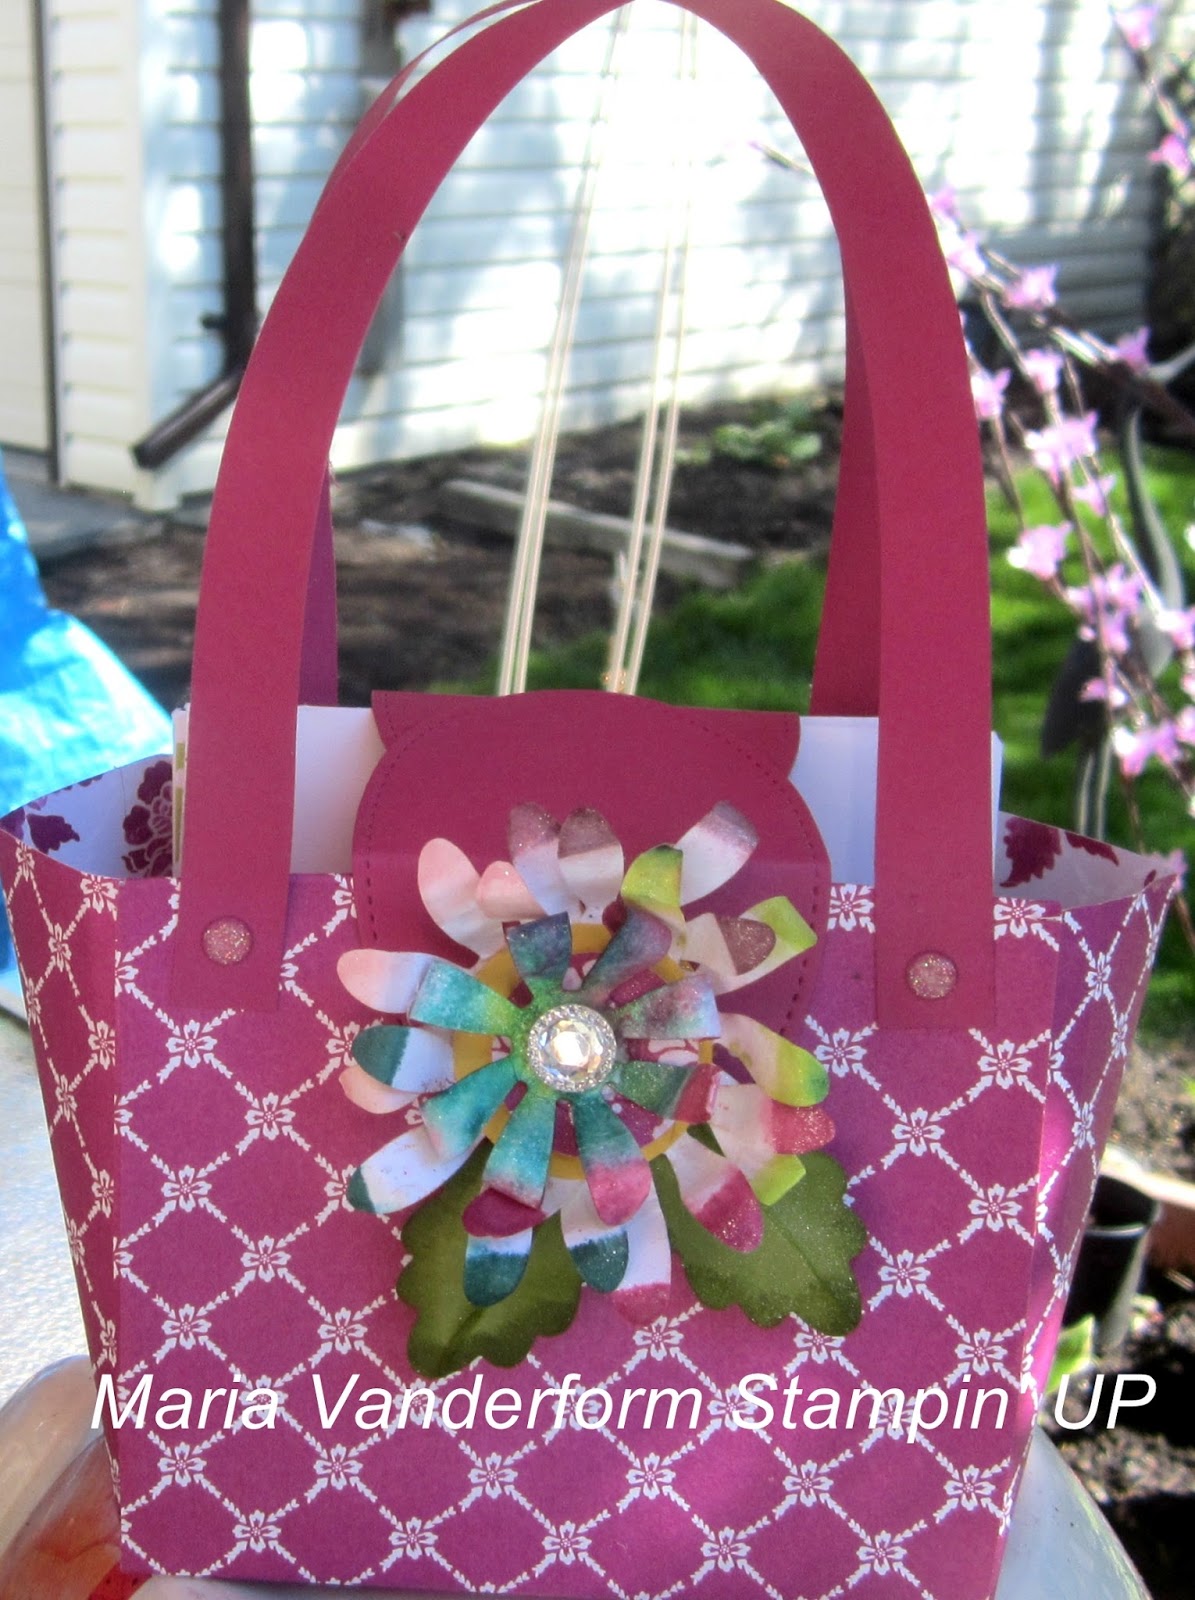
Here's some more pictures of the completed card.


Supplies Used:
Stamps:  Daisy Delight, Beautiful Day
Inks:  Basic Black marker, Black Memento, Old Olive, Daffodil Delight,.
Papers:  Thick Whisper White, Whisper white, Daffodil Delight
Accessories:  Medium Daisy Punch, Eyelet Lace Embossing Folder, Heirloom Frame 3D Embossing Folder (Oval), Heirloom Frame and Die (Oval ,5/8"Polka dot organza ribbon, Daffodil Delight glitter gems

Friday, October 6, 2017

Thank You Recessed Panel Cards - 2 views

Yesterday I posted a recessed panel card that was a Halloween card. See the post here

Today's Thank You card uses a different DS and  I am posting 2 versions of it.

 I show you both layouts because the direction of the recess does not really matter, nor does the size.

When I first made this card I actually put the card together with the recessed elements reversed (see bottom picture).  I was upset with myself and put the card aside, not even completing it.

After a couple of days I made another card, this time paying attention as to where to place the elements.  After I was done, I realized that it did not matter which direction the recess went.  I actually saw some cards made with the recess vertical and another one horizontal.

So, here's how I made the card.  I started with a Whisper White card base and cut a piece of DSP and a piece of Whisper White 4 1/4 by 5 1/2" - the same size as the card base.  The DSP was adhered to the card front.

The Whisper White was cut using the template pictured below.  Again, you don't need a template, you can just eyeball where to cut the pieces.
Two pieces of Pool Party card stock 1 1/2 by 6" were added to the inside edges extending over the edges about  1/8" with the excess trimmed off.
Before adhering the pieces, I stamped the image from "Timeless Texture" in Pool Party ink and the sentiment from "Daisy Delight" In Black Memento.

Using foam adhesive strips to adhere the cut pieces  to the card front allows the middle area to be "recessed".

For both cards I fussy cut floral and leaf images from the DSP, sponged the edges and adhered them to a 1 1/4" punched circle, which was then adhered to the card.


Supplies Used:
Stamps:  Daisy Delight, Timeless Texture
Inks:  Black Memento, Pool Party, Calypso Coral, Old Olive
Papers:  Whisper White, Lots of Lovely DSP, Pool Party
Accessories:  Trimmer, 1 1/4" circle punch, Strips of Foam tape


Template I used


Thursday, July 13, 2017

Daisy against a Brick Wall - a case

I haven't posted for a couple of days as I have been getting ready for a craft show on the weekend.  As well I have had a number of out of town appointments. No excuses, just facts, facts which have kept me away from the craft table.

Tonight I finished packing, so I finally made a card - a card similar to one I saw on Pinterest, made by Jackie Bultje.  I had some stamped and punched Daisies left over from another project so this was a perfect opportunity to use them.

What I found really neat about this card was the background, so I unabashedly cased that.  The rest of the card is mine.

Here's how the background was done.

After embossing some Crumb Cake card stock with the Brick embossing folder I  stamped it with the Watercolor Wash background stamp and Cherry Cobbler ink.  I just love the effect, making the brick look distressed

Two left over  Daisies were previously stamped with Wisteria Wonder, and punched with the Daisy punch.  Now they were cut in half, and  reassembled to form what looks like half a Daisy. Each petal was gently curled under using a bone folder.

The center of each Daisy was stamped with Crumb Cake ink followed by Soft Suede.  After punching with a  1/2" circle punch they were added to the centers of each Daisy with a dimensional. A dimensional was also used to attach the flowers to the card front.

The stem was hand cut as were the leaves. These Old Olive structures were sponged with Old Olive ink.  The centers of the leaves were scored with a stylus, folded and unfolded and finally sponged.

I added some Burlap ribbon near the bottom and attached the sentiment punched with the Pretty Label punch straddling this ribbon.

No card is complete without glitter.  So gold faceted gems were added to the flower centers, along the upper right edge and on the sentiment punchie.

Supplies Used:
Stamps:  Daisy Delight, ,Watercolor Wash background, Special Celebration
Inks:  Black Memento, Wisteria Wonder, Old Olive, Cherry Cobbler, Crumb Cake, Soft Suede
Papers:  Chocolate Chip, Very Vanilla, Whisper White, Crumb Cake, Old Olive
Accessories:  Brick Embossing folder, Daisy Punch, Pretty Label punch, 1/2" circle punch, 5/8" Burlap ribbon, Gold faceted gems, dimensionals.

Saturday, July 8, 2017

Pocket Card swap cards

The Swap of the Month with my Yahoo group ORSA is a card fold. The swap involves making 3 identical cards and I will get 3 different cards back.
Inspired by a past Paper Pumpkin kit I make 3 pocket cards with inserts. A template is provided below.

The base is Wisteria Wonder as I was planning on using the Daisy Delight DSP and that is one of the colors in the paper.  I used one of the cards from the Paper pumpkin kit as a template. The notch was made using a large oval punch.

On the front I adhered 2 patterns of the DSP with a piece of Lemon Lime Twist ombre ribbon over the seam. On top of the DSP I adhered a 1/8" strip of Wisteria Wonder.

I just love flowers, and a Daisy flower is no exception.  Two daisies were stamped using Wisteria Wonder ink.  For each flower, two Daisies were punched with the Daisy punch.


Before adhering them together, the petals were shaped using a bone folder and then pressed down in the center.  This makes the petals curve up and then down. The two were adhered together alternating petals.

I stamped a third Daisy, which I cut in half and added to the insert.

The centers, which were first stamped with Daffodil Delight and then Crumb Cake, were punched with the 1/2" circle punch and added to the flower center with a dimensional.  A gold faceted gem as adhered on top of that.


For each Daisy two leaves were stamped and cut out by hand.  They were first stamped with Pear Pizzazz with the outline stamped in Old Olive.  Before adding them to the Daisy, the edges were sponged with Old Olive and scored down the center. I punched a 1 3/4" scallop circle in Wisteria Wonder to be the base for the flower.  The flower was built on this scallop circle which was then adhered to the card front.

The sentiment, stamped in Black Memento, is from the same stamp set.

To complete the outside, I added a smaller gold faceted gem on either side of the notched edge.


The Insert:

This is a 4 by 5 1/8" piece of Whisper White whose edges have been rounded with the corner rounder punch.
Along the bottom is stamped a row of Daffodil Delight daisies.
At the top, visible from the notch are stamped 2 smaller daisies in Wisteria Wonder.  The first is a solid image stamped with second generation stamped.  On top of that is a Daisy stamped with the outline stamp on a separate piece of Whisper White.  It was cut out and adhered to the top of the stamped Daisy.
In between the Daisies I stamped some tiny Daffodil Delight coils and 4 tiny Daisies underneath.

The remainder of the sentiment is stamped about half way down with half of the cut out Daisy adhered on the side just below it.

I added some gold Dazzling Details to the centers of the smaller Daisies and the half Daisy on the insert.


Supplies Used:
Stamps:  Daisy Delight
Inks:  Black Memento, Wisteria Wonder, Daffodil Delight, Pear Pizzazz, Old Olive
Papers:  Wisteria Wonder, Whisper White, Daisy Delight DSP
Accessories:  Daisy Punch, 1/2" circle punch, Gold faceted gem, Gold Dazzling Detail (retired), 1 3/4" scallop circle punch, dimensionals

Template


Tuesday, May 30, 2017

Friend - a team meeting swap card

My team meeting was last night, and this is my swap card.  It uses the new Daisy punch and the Daisy DSP with thick Whisper White card stock and window sheet.

I used the Thick Whisper  White card stock for the base of this card (I don't know the name of this card style, so I'll call it a window card because that's the term my son used when he saw the card)

The card base was made by cutting a piece of thick Whisper White at 41/4 by 11 inched, scoring it at 5 1/2" and then cutting it at 7".   From the 4" piece cut a 1 1/2" piece to put at the bottom.

A 4 1/4 by 3 1/2" piece of window sheet was used to connect the top and bottom card parts.

Daisy Delight DSP matted with Wisteria Wonder card stock was added to the top and bottom panels.

The Daisy flower was made by stamping two Daisy images with Wisteria Wonder ink and then punching them out using the Daisy punch. Some Daffodil Delight ink was also added to the center of each Daisy flower.  After curling the petals up, the flowers were adhered together off setting the petals and a gold faceted gem placed in the center of the flower.
For each flower two leaves were stamped and then fussy cut.
The flower and leaves were adhered to a 1 1/4" circle and then adhered to the card front.  I placed another 1 1/4" circle on the inside of the card

Using the new "Lovely Words Thinlet Die" the word "friend" was die cut and then adhered directly to the window sheet.

Supplies Used:
Stamp: Daisy Delight
Inks: Wisteria Wonder, Daffodil Delight, Old Olive
Papers: Thick Whisper White, Daisy Delight DSP, Whisper White, Pear Pizzazz
Accessories: Daisy punch, 1 1/4" circle punch, Window sheet, dimension, gold faceted gem, Lovely Word Thinlet Die

Monday, May 15, 2017

In-Color Note cards in a Paper Purse

My team is holding an Open House to launch the new Annual Catalogue. So, for this occasion, I made five 4 by 4" note cards and hand made envelopes using the envelope punch board as well as a paper purse to put them in.


Above are all 5 note cards.  Below that are close ups of  two of them.  I used the new Fresh Florals DSP, the Daisy punch and the Daisy Delight stamp set.  In the center of each flower is a small Chocolate brown scallop circle in the center of  which is either a faceted clear gem or a glitter enamel dot.

A purse was made using a 12 by 12" piece of the Berry Burst color of the Floral Designer DSP


The flowers that were punched out were not wasted.  They were made into an embellishment for the front of the purse. See close up below.


The purse latch was made by die cutting 2 large stitched ovals , both of which were folded in half.  On the front half I added 2 small magnets; the back was adhered with tombo.

Supplies Used:
Stamp:  Daisy Delight
Inks: Berry Burst, Fresh Fig, Lemon Lime Twist, Powder Pink, and Tranquil Tide
Papers:Whisper White, Fresh Floral DSP, Berry Burst card stock, Pear Pizzazz
Accessories: Daisy Punch, Clear and Gold Faceted Gems, Glitter enamel dots, 1" circle punch, Stitched Oval Framelits, small magnets (non SU), Envelope punch board.