Showing posts with label Custom Tee. Show all posts

Saturday, March 11, 2017

Tee Shirt Ballerina

One of the cards made in class this week was made using the Custom Tee stamp set with its coordinating framelits. Although one card was made I always review other applications of the stamp set.  The students were brain storming various ideas, and one of the ideas was to use the Tee shirt to make a Ballerina dancer.
This is what I came up with:

The bottom of the Blushing Bride Tee was curved, then the Tee was embossed with the dots embossing folder.
I used the retired Blossom Builder Punch to create the Skirt.  5 Large and 5 small petals were punched using Vellum card stock.  The reverse side of each petal was sponged with Sweet Sugarplum ink after which they were adhered to the underside of the Tee as shows above.
Pearls were placed on some of the petals, and a string of pearls around the neck.
A 1/8" gold ribbon was tied around the waist, and 3 vellum flowers added to one side.

The completed outfit was adhered to a stitched oval die cut, which was added to an embossed piece of  Whisper White cardstock. This was adhered to the Sweet Sugarplum base.

Supplies Used:
Stamp: Custom Tee
Inks: Sweet Sugarplum, Black Memento
Papers: Blushing Bride, Vellum, Whisper White, Sweet Sugarplum
Accessories: T-Shirt Builder Framelits, Blossom Builder Punch (R), Pearls, 1/4" gold ribbon, Dots embossing folder, Confetti Embossing Folder

Monday, February 6, 2017

My Grandson Turns 11

Children grow so fast!  It seems just like yesterday that I was taking the bus about 5 hours from here to look after my daughter after she gave birth to her first child.  He was a big baby, with a big head, and she had had a difficult labor and delivery. She was very sore and this being her first baby she did not know how to care for him.
The baby was a bit bruised from the forceps that had been applied to his head as the doctor literally pulled him out.  Fortunately the damage was only confined to bruising  and he healed well, with no permanent disability.
It's funny what one recalls when children/grandchildren reach milestones like birthdays.

On February 15th, one day after Valentine's Day and one day before my mother, his great grandmother's birthday, Mark was born. How could I forget the time of his birth?  It was 15:15 hours on February 15th. I think the number 15 will have great significance in his life.

On February 15th, Mark turns 11.

After going down memory lane, I sat down and made two birthday cards for him - one will be from me and the other for his uncle to give to him.

This is the card I made from me.

The card base is Island Indigo, layered with first Whisper White and then Island Indigo DSP.  The Whisper White Art Piece is matted with Island Indigo card stock.

The young man in the Art piece is stamped with Black Memento and coloured with watercolor pencils and a blender pen. He is standing on a skate board, and there is a guitar in his hand.
On his Tee shirt are 2 small rectangles cut from Daffodil Delight card stock and are overlapped to form a star.  On the star is penned the number 11. Three other stars punched with the Itty Bitty star punch are randomly adhered to the art piece with glue dots.

Silver tag string is wound 3 times around the art piece and adhered at the back.

Dimensionals are used to adhere the art piece to the card front.

Supplies Used:
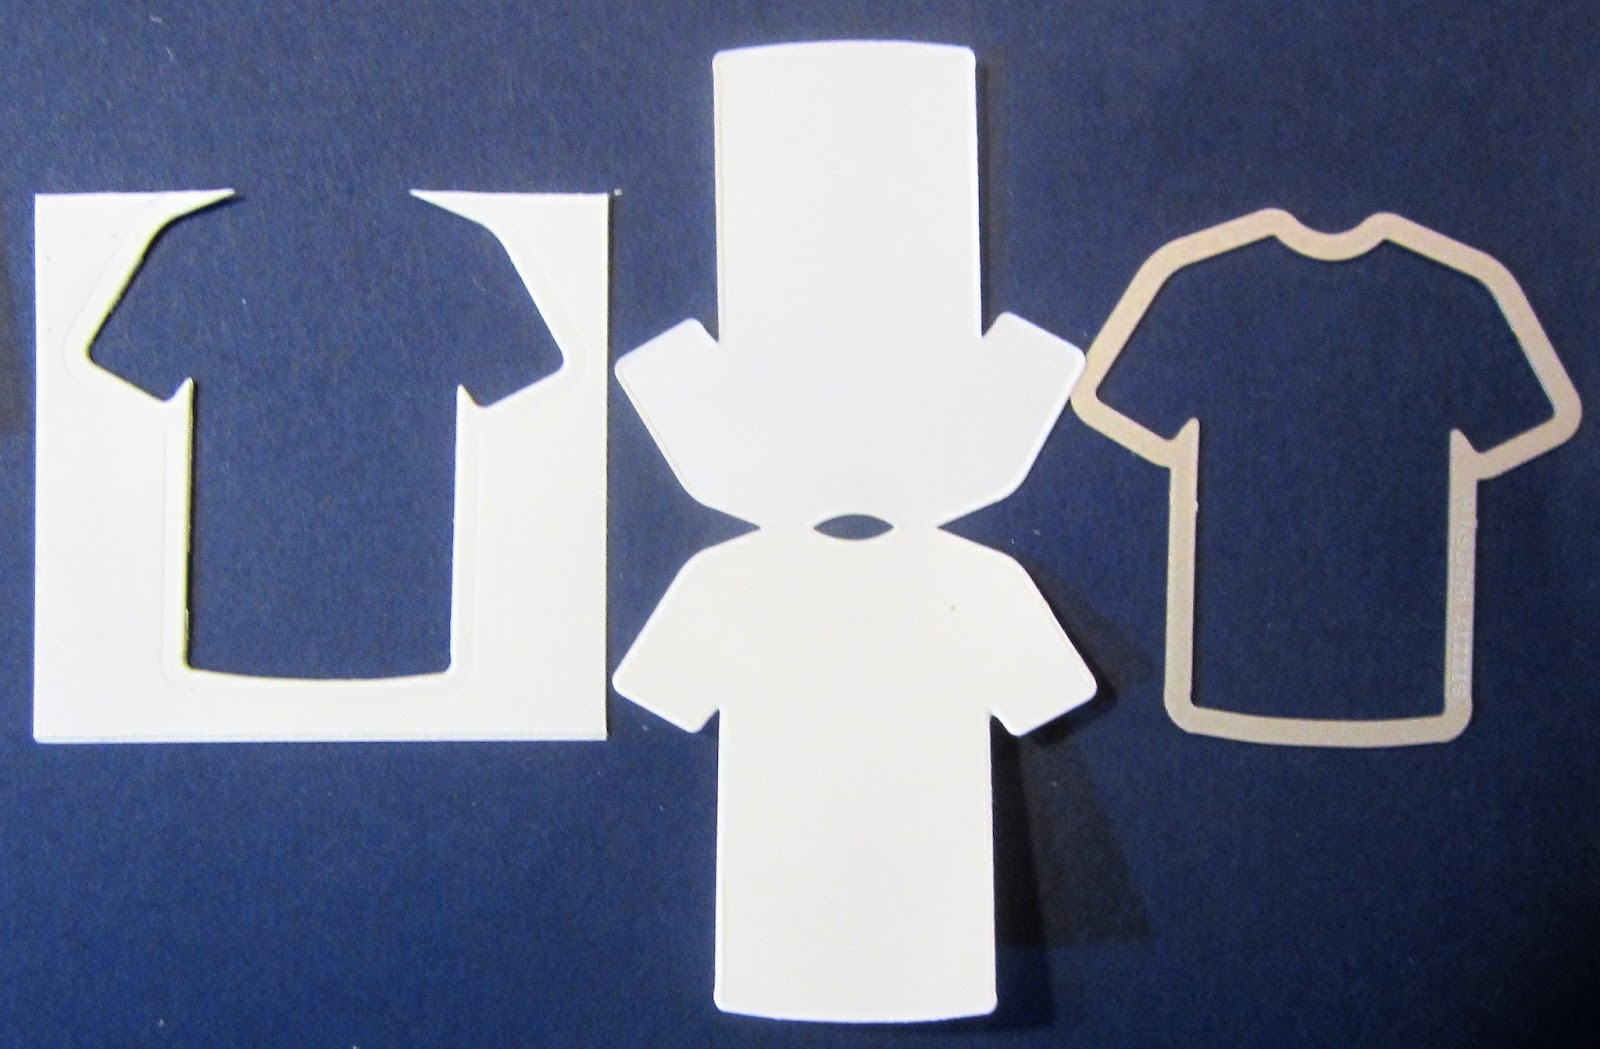
Stamps: Custom Tee, Skating By (retired)
Inks: Black Memento, Daffodil Delight, Pacific Point, Cajun Craze, Melon Mambo, Smoky Slate, Basic Black, Soft Suede, Island Indigo.
Papers: Island Indigo, Whisper White, Island Indigo DSP, Daffodil Delight
Accessories: Blender Pen, Word Window Punch, Modern word Label Punch, Silver tag cord, dimensionals, Itty Bitty star punch


Friday, February 3, 2017

Congratulations, I Knew You Could

This will be one of the cards to be made in class in a couple of weeks.  During SAB my plan is to include a card made with a SAB stamp with each class.  So far the "Hey, Chick", Avant-Garden and So Much" SAB stamps have been used.  With this class, coordinating the Designer Tee with the Custom Tee stamp makes perfect sense.

The card is like a flip chart. In other words there are 3 shirts on this card, and the cards flip up to reveal a different message.  Read the message on the first card, then flip the shirt up to read the message on the second shirt.  Finally, open the card to read the message on the third and last shirt.

The Pacific Point card base is layered with a Sparkle embossed Whisper White layer.  To the left is a 2" strip of Animal Party DSP, with a 1" strip of Garden Green cardstock adhered to this DSP to the left side.

The shirt is two shirts attached at the shoulders.  It was made by folding a 3 3/4 by 5 1/4" piece of Whisper in half and placing the shirt framelit with the cutting edge slightly over the fold line.


After running that through the Big Shot, you have a Siamese shirt. See below.


The shirt on the front is decorated with stripes on the sleeves and the hem. This stamped decoration is common to all three shirts. The sentiment on the front "I think I can...." is stamped using the Garden Green and Real Red markers.

The first card is flipped up to reveal a second shirt which has another sentiment stamped in Pacific Point ink.  This shirt is adhered, at an angle, to a Whisper White square die cut with the square stitched die and stamped with the Touches of Texture stamp.  It is then matted with a Pacific Point die cut square.

This art piece is adhered to the card front using dimensionals.

On the inside the third die cut shirt has the final sentiment stamped on it.

Supplies Used:
Stamps: Designer Tee, Custom Tee (SAB), Touches of Texture
Inks: Black Memento, Pacific Point, Markers (Garden Green & Real Red), Tangelo Twist
Papers: Pacific Point, Whisper White, Party Animal DSP, Garden Green card stock
Accessories: Stitched Shape dies, Tee Builder framelits, Sparkle embossing folder, Classic Label Punch.


Sunday, January 29, 2017

A Sale-a-bration Combination

What do you get when you combine 3 SAB stamps, and 1 SAB DSP with 1 Occasions stamp and 1 Occasions DSP.  Sounds crazy, right?
Well, I guess I'm crazy because that is what I did this evening.  If nothing else, it shows how seamlessly one can use different SU stamps and not be able to tell the difference.

The Tee shirt was stamped onto Watermelon Wonder cardstock, die cut and then adhered to Whisper White cardstock the background of which had been stamped with Peek a boo Peach ink and the "dot" stamp from the Avante Garden stamp set (SAB). A sentiment from the Designer Tee (SAB) stamp set was stamped onto the Tee shirt.

This art piece was matted with Pacific Point cardstock. A piece of Gold Metallic ribbon was wrapped around one end and a shorter piece was tied around it and tied into a knot.

The base card stock is Watermelon Wonder, layered with Whisper White which had been stamped randomly with the tiny stamps from the Any Occasion stamp set.  Four of these tiny stamps were placed on an acrylic block and using Peek a boo ink they were stamped randomly over the entire surface of this layer.

A 3 1/2 by 1 3/4" of Party Animal DSP (Occasions) matted with Pacific Point cardstock was adhered vertically on the left side of the Whisper White layer. On top of this was placed a similar size of Carried Away DSP (SAB) also matted with Pacific Point cardstock.

The art piece was adhered over these 2 layers with dimensionals.

Three flowers punched with the Petite Flower punch were clustered in the left corner of the art piece. Rhinestones were added to their centers.

Sup plies Used:
Stamps: Avante Garden, Any Occasion, Designer Tee, Custom Tee
Inks: Black Memento, Peek a boo Peach
Papers: Watermelon Wonder, Whisper White, Pacific Point, Party Animal DSP, Lift Me Up DSP
Accessories: T Builder framelit, Petite Petal Punch, 3/8" gold metallic ribbon, rhinestones, dimensionals, glue dots

Tee Shirt for a Star

Versatile - that's one word I would use to describe this stamp set.
For this card I changed up the colour, decorated and stamped on the shirt differently, and whoa you have a tee shirt card for a sports minded individual.

Again, I selected the color scheme for this card from the Party Animal DSP - Daffodil Delight, Pacific Point, and Tip Top Taupe.

Supplies Used:
Stamp: Custom Tee
Inks: Basic Black, Tip Top Taupe
Papers: Tip Top Taupe, Whisper White, Daffodil Delight, Pacific Point, Party Animal DSP
Accessories: Medium star punch, dimensionals, T builder framelits

Another Tee Shirt - a guy version

I'm having a lot of fun playing with the Custom Tee stamp set and its coordinating framelits, today making a masculine version of the tee shirt.  Yesterday I made the feminine version.


The tee shirt was stamped directly onto Old Olive cardstock and then die cut.  The tie and pocket were stamped and die cut separately.  For these I used Pacific Point cardstock.

The tee was adhered to a piece of Very Vanilla cardstock, which had been stamped with the Timeless Texture stamp and its edges sponged. After matting it with Basic Black cardstock dimensionals were used to adhere it to the DSP of the card front.

Pacific Point card stock layered with Very Vanilla and then Basic Black are the bases of this card.  Upon that is a layer of Urban Underground DSP.

The sentiment is stamped on a strip of Pacific Point notched at both ends.

Supplies Used:
Stamps: Custom Tee, Remembering Your Birthday (retired), Timeless Texture
Inks: Black Memento, Tip Top Taupe
Papers: Pacific Point, Very Vanilla, Old Olive, Basic Black, Urban Underground DSP
Accessories: T Builder framelits, Dimensionals

Saturday, January 28, 2017

A Tee Shirt Birthday

Today I played with the Custom Tee stamp set with its coordinating T Shirt Builder framelit.
This is one of the birthday cards I made- a female birthday card. It proved to be a great opportunity to use one of the new lace doilies. These doilies are Whisper White on one side, and Very Vanilla on the other making them very versatile.
The colour scheme is Very Vanilla, Bermuda Bay and Daffodil Delight, colours I selected were from the Cupcakes and Carousel DSP.


The Art Piece:

The female tee shirt was stamped directly onto Bermuda Bay cardstock and die cut with the coordinating framelit. Before die cutting it 3 flowers were stamped along the bottom and right side after which the T shirt  was adhered to a 2" Daffodil Delight embossed circle. This circle was adhered to the Very Vanilla side of the new Lace Doillie.

The Card:

The base card is Bermuda Bay, layered with Very Vanilla card stock.  On the right side a strip of Cupcake and Carousel DSP was added and a piece of 3/8" gold metallic ribbon was adhered over the seam.


The art piece is adhered using dimensionals, to the card front over a strip of Bermuda Bay card stock notched at both ends

Using a basic black marker, the words "birthday girl" were isolated from a longer sentiment and then stamped onto a piece of Daffodil Delight cardstock This was matted with Bermuda Bay, and adhered with dimensionals to the card front below the art piece.  Two itty bitty Bermuda Bay flowers embellished the top and bottom of this sentiment.

Above the art piece floral embellishments created using punched Petite flowers in Bermuda Bay, and itty bitty flowers in Daffodil Delight. 

Rhinestones were added to the centres of all the flowers and around the neck line of the Tee shirt.

Supplies Used:
Stamp: Custom Tee
Inks: Black Memento, SU Basic Black marker
Papers: Bermuda Bay, Very Vanilla, Daffodil Delight, Cupcake & Carousel DSP
Accessories: Lace Doillie, rhinestones, dimensionals, 3/8" gold metallic ribbon (SAB), T-shirt builder framelits