Showing posts with label Gilded Leafing embellishments. Show all posts

Wednesday, July 7, 2021

Jar of Flowers for Hand Stamped Sentiments Inspiration Challenge#367

 I have spent a lot of time in my garden this year tending to my blooms, some of which, like the Inspiration Challenge are pink in colour.

Today is a rainy day, so I am tending to some different flowers, making them into a card and submitting it to the Inspiration challenge at Hand Stamped sentiment. In the Inspiration picture I see shades of pink, swirls of gold, and various shades of bright green - thus my colour scheme of  Flirty Flamingo. gold foil, Blushing Bride, and Granny Apple Green. I also used some Heat and Stick powder to add Gold Flakes to the embossed layer.


The card base is Basic White layered with Flirty Flamingo, and then Blushing Bride embossed with the Pretty in Flower Embossing Folder.

Along the left edge of this embossed layer was added a 1/8 by 5" strip of gold foil. Some Gilded Flakes was also added to this layer.

Adding Gilded Flakes:
To do this I swiped a Versa Mark ink pad randomly across the surface of the embossed piece, and added Heat and Stick powder. After activating this powder with the heat tool, the Gilded Flakes were added.  See below.


For the focal image I used the floral and jar image from the Jar of Flowers stamp set, as well as the Jar Punch.
Both the flower and jar  were stamped separately.  The flowers were stamped with Black Memento ink onto some Basic White card stock. The jar was stamped on Flirty Flamingo card stock with Versa Mark and embossed with Gold embossing powder. The jar was then painted with White shimmer paint. When the paint was dry it was punched with the Jar Punch.


The flowers were coloured with Stampin' Blends (Flirty Flaming, and Granny Apple Green.  Some Gilded Flakes were added to the flower centers, as well as the flower sprigs.
I also added some extra die cuts that I made using a Curvy Die.  These were die cut in Gold Foil and Granny Apple Green.


The flowers were added to the jar top and together the unit was added to a piece of Basic White card stock die cut with a Contour Scallop die using dimensionals. Some gold trim was wrapped around the jar top and a bow made with the same trim was added to the front

The Scallop Contour die was then added to the embossed card front using dimensionals.  Some gilded gems were added to the die cut.


The sentiment is from "Many Messages" and is added extending from the junction of the flower and the jar.

Supplies Used:
Stamps:  Jar of Flowers, Many Messages
Inks:  Black Memento,  Versa Mark, Stampin' Blends ( Flirty Flamingo, Granny Apple Green)
Papers:  Thick Basic White, Basic White, Flirty Flamingo, Granny Apple Green Gold Foil
Accessories:  Pretty in Flowers Embossing Folder, Heat & Stick powder, Gilded Flakes, Gold twine, Curvy Die, Jar Punch, Many Messages die, Gilded Gems, Scallop Contour due                                                                                                                                                                                                                                          


Saturday, January 16, 2021

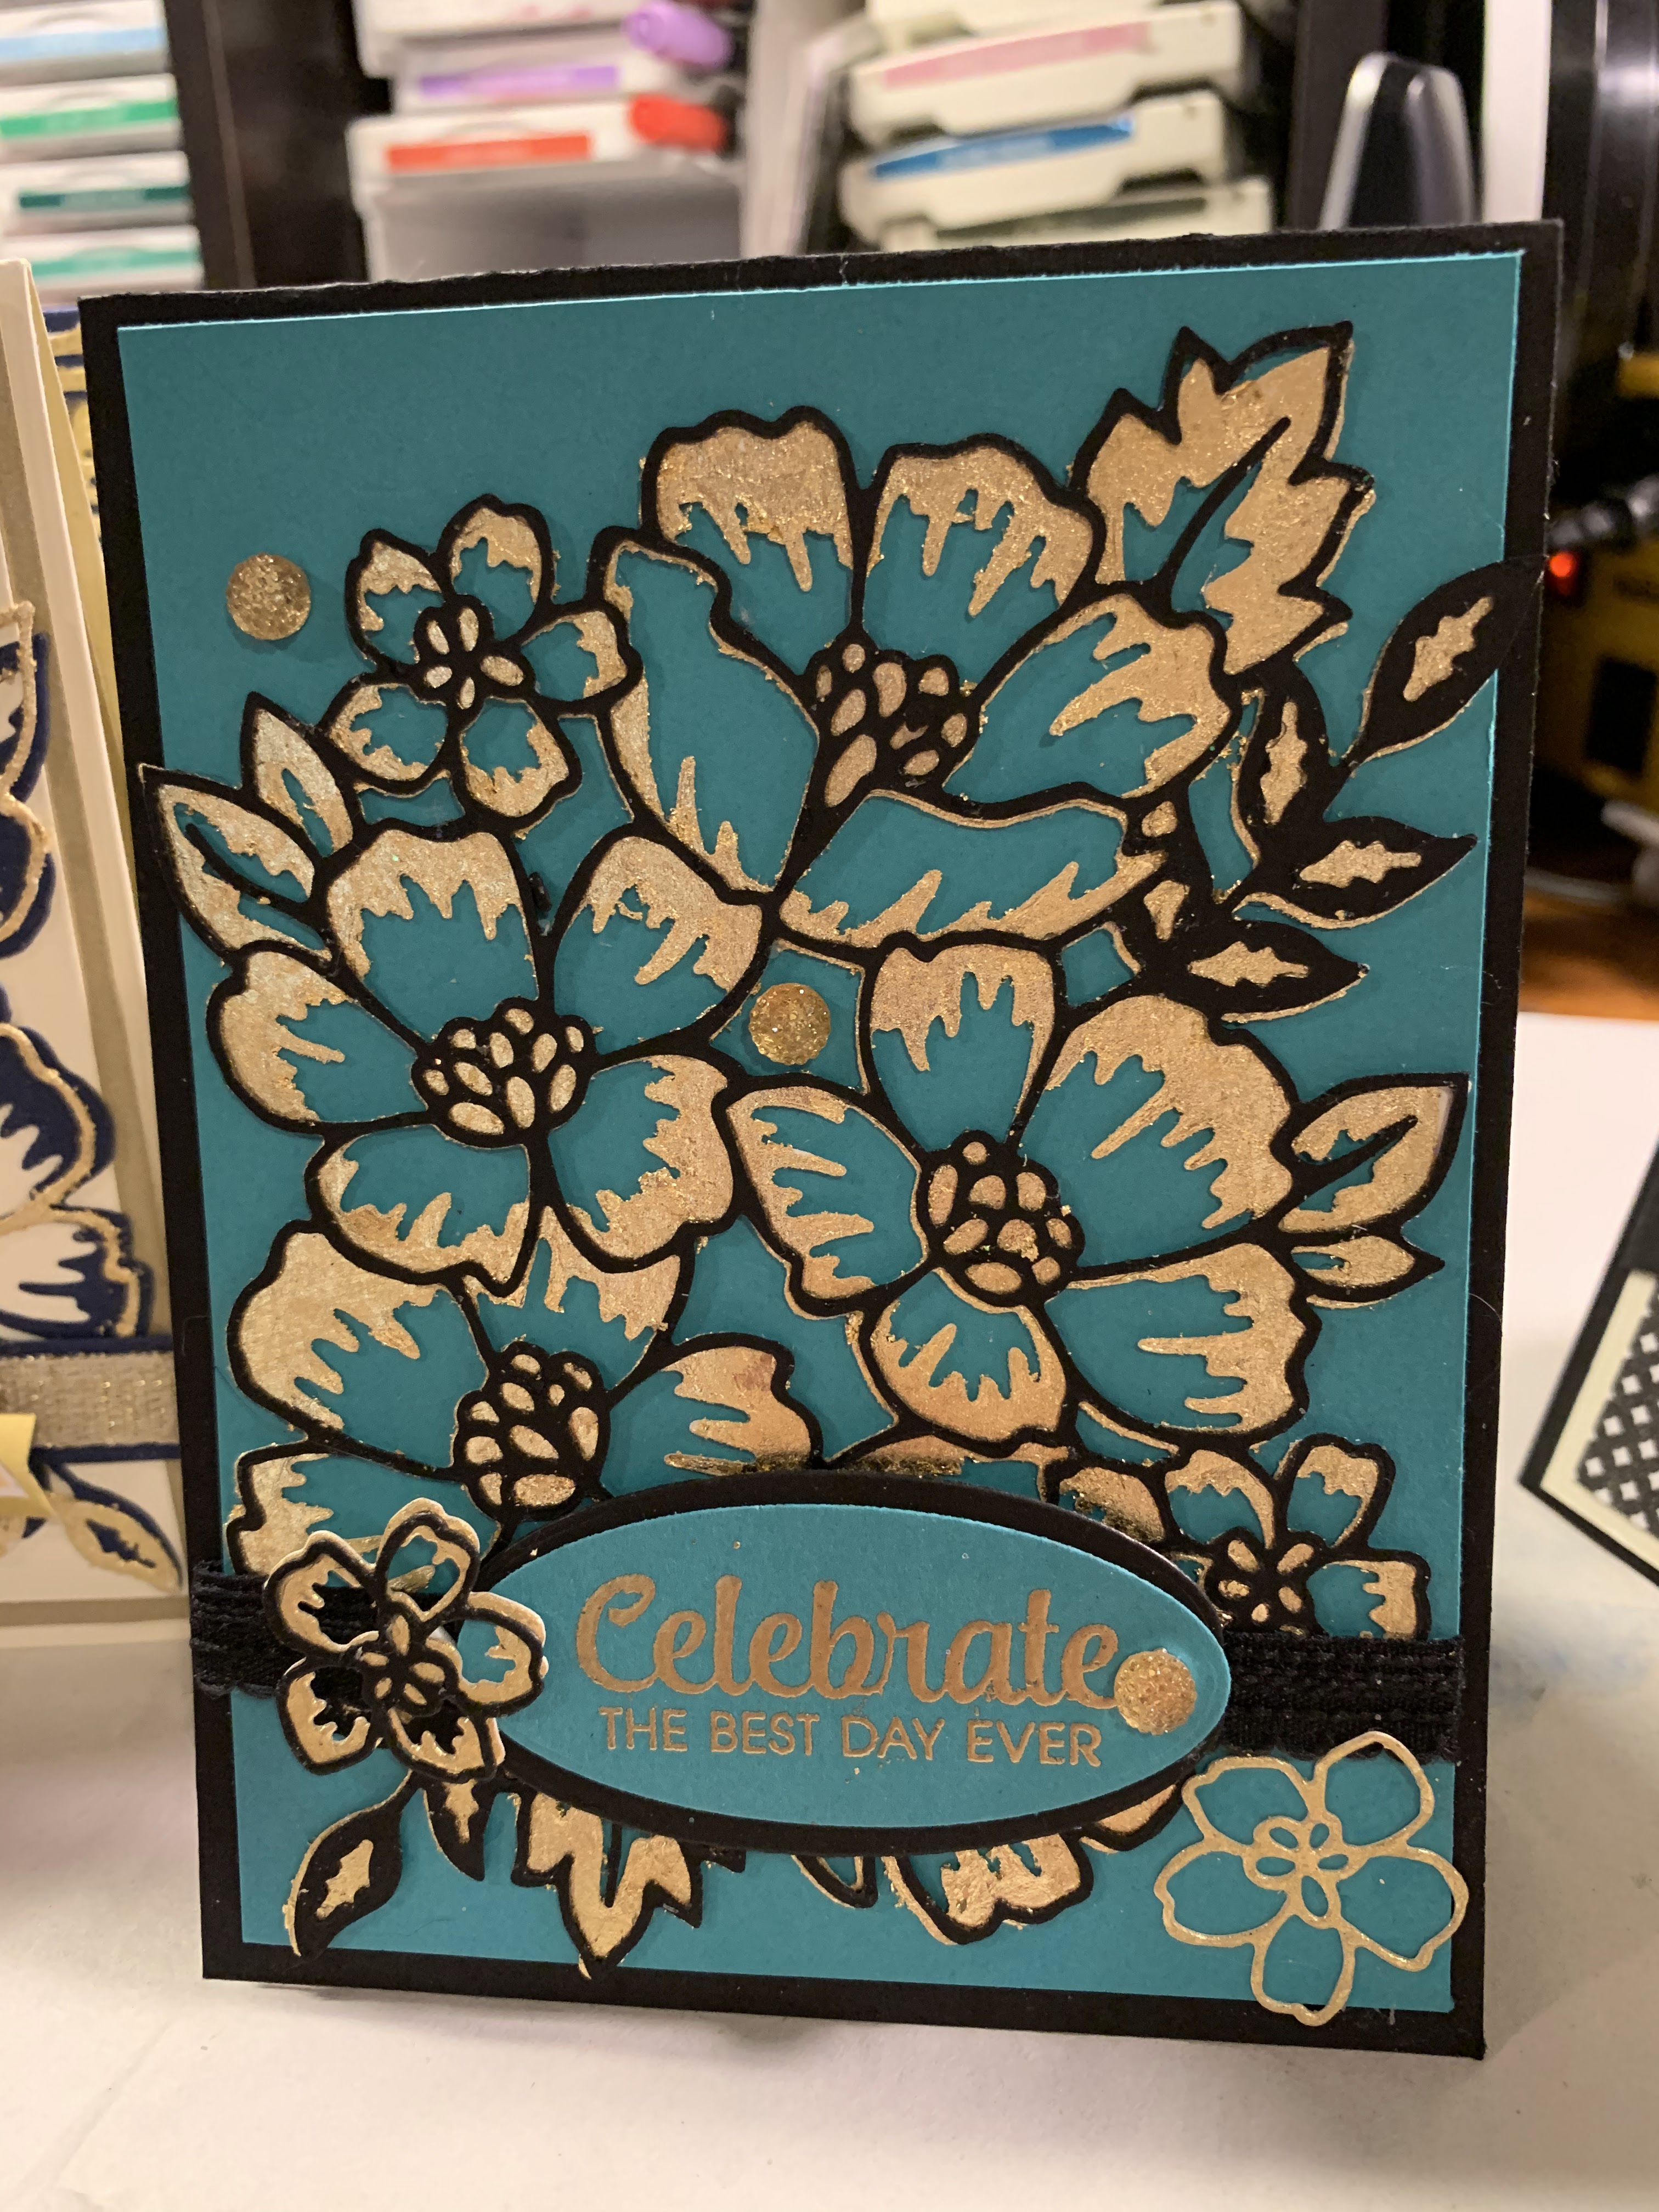
Gilded Flakes and Blossoms in Bloom Many Layer Dies

 For these 2 cards I also used the adhesive sheets to apply the gilded flakes.  I did try the heat and stick powder but found the tackiness did not last long enough on these large dies to effectively apply the flakes. I will use this method of application on smaller projects.

Card 1

On the first card, I added the gilded flakes to the thinner definition overlay piece.  Night of Navy card stock was used to die cut the larger pattern piece.


After adhering the 2 layers together, they were adhered to a piece of Very Vanilla card stock which was layered on a retired gold card stock piece.  Before adhering this to the Thick Very Vanilla card stock base, a Night of Navy strip with some gold glimmer ribbon adhered to it was added near the bottom, with the ribbon ends taped on the back side of the layers.

The sentiment if from a Paper Pumpkin stamp as is the sentiment die cut and the gold foil flagged piece beneath it.

Card 2

The same die cuts were used on this card, only the gilded flakes were added to the thicker pattern layer, with a Basic Black thinner over lay.
After the 2 layers were adhered together, they were added to a Bermuda Bay layer and then to a Basic Black card base.
A Basic Black scallop ribbon is added near the bottom.  The gold embossed sentiment is from "Band Together" as is the oval die cut.


Adding Gold Leaf Gilded Embellishment to Die Cuts - 4 cards

 Yesterday I had a lot of fun using adhesive sheets to add gold metallic gilding flakes to different die cuts and making them into cards.


In each case a 4 by 5 1/2" piece of Whisper White card stock was adhered to the same size of Stampin' Up Adhesive sheet.  The Adhesive sheet is has adhesive on both sides, so attach the card stock to one side by removing the front protective cover.
Once this is done, die cut on the card stock side. Remove the protective cover on the other side to expose the adhesive and now you are ready to apply the gilded flakes.
Place the die cut into a container (e.g. shoe box) with the adhesive side up and using a paint brush or your fingers, apply gilded flakes to the die cut. Use the brush to apply gilded flakes over entire surface, When entire surface is covered, remove from container onto a creased copy paper and brush the entire surface to remove any extra tiny flakes.
Now, make your card.

The gilded Medallion Die is adhered to a Basic Black card base.

Near the bottom are two flagged card stock pieces - one in Basic Black and the other is Whisper White. They are adhered together, with the Basic White one extending beyond the Basic Black one. On the white piece the sentiment, from Many Mates, is embossed with Gold Embossing powder.

The Perennial Flower punch is used to make the two flowers.  Two are punched for each flower. An extra one is punched for the leaves.

Using a dauber Calypso Coral ink was applied to each of the punched flowers, and Old Olive to the extra one. All were spritzed with water to blend the colour, dried with a heat tool and then shaped with a stylus.  Two were adhered together alternating petals and a self adhesive flower center was added to each. The Old Olive one was divided into 3, shaped, and added to each flower.

Tomorrow I will post another card with a die cut guilded  with the gold leaf embellishmennts


Tuesday, December 15, 2020

An Art Gallery Project (Mini Catalogue sneak peak)

 I am in love!

No, I didn't meet a special someone, but a special something-The Art Gallery Bundle. And the DSP that coordinates with this bundle - WOW!!

As if the DSP wasn't gorgeous enough, add gold to certain areas and you hav a master piece.  If you have never worked with Gilded Flakes, I have plenty of tips and tricks. As I work through this project I will give you tips and tricks on how to apply gold to your project.

I must admit I was reluctant to cut into this paper, but the lure of the project won out.

Here's my project- a decorated mini pizza box containing 4 (3 by 3") note cards and envelopes.


Dimensions of the Lid:

Top:
.Merry Merlot    3 1/4 by 3 1/4"
.Fine Arts DSP    3 by 3"  Adhere the two layers together and add to lid of now assembled Mini Pizza box.
.
.Die Cut a 2 1/4" circle using the Stitched Circle Die.  Die cut a smaller circle in Whisper White (2").  Adhere the 2 together and add to the center of the lid.

Using a dauber, apply Blushing Bride ink to the flowers of the single floral cluster.  Then with a second dauber, apply Merry Merlot around the edges of the small buds and the centers of the larger flowers.  Apply Old Olive to the leaves and stems. Spritz lightly with water and stamp onto a piece of Whisper White card stock.  When dry, die cut and adhere to the circles using dimensionals.  To make the flowers look more like the flowers in the DSP, I applied some Blackberry Bliss to the flower centers using a Stampin' Write  marker

A bow made with gold twine was added to the base of the flowers and some Gilded Gems added randomly on the DSP.

Sides:

.Merry Merlot 3 1/4 by 3/4"
.DSP 3 by 1/2"
Cut 4 of each piece, adhere together and add to each of the four sides of the box.

Note Cards:
Make 4 Thank you notes to fit in the box.  For each card I cut a 3 by 6" piece of Whisper White card stock and scored it at 3" to make a 3 by 3" card. These would fit into the 3 1/4" by 3 1/4" envelopes. 
Each card was decorated using the Fine Arts DSP.  The sentiment was gold embossed and die cut before adding to the card front. Each note card had 3 Gilded Gems added to the upper right side.
Gilded flakes were added to the Tear and Tape adhesive which had been added along the edge of the DSP.


Supplies Used:
Stamp:  Art Gallery
Inks:  Versa Mark, Blushing Bride, Old Olive, Blackberry Bliss
Papers;  Whisper White, Merry Merlot, Fine Art Floral DSP, Gold Foil
Accessories:  Mini Pizza Box, Floral Gallery Dies, Gilded Leafing Embellishments, Gilded Gems, 3 1/4 by 3 1/4 Whisper White envelopes, Stitched Circle Dies, Gold twine