Showing posts with label Many Layered Blossoms. Show all posts

Saturday, January 16, 2021

Gilded Flakes and Blossoms in Bloom Many Layer Dies

 For these 2 cards I also used the adhesive sheets to apply the gilded flakes.  I did try the heat and stick powder but found the tackiness did not last long enough on these large dies to effectively apply the flakes. I will use this method of application on smaller projects.

Card 1

On the first card, I added the gilded flakes to the thinner definition overlay piece.  Night of Navy card stock was used to die cut the larger pattern piece.


After adhering the 2 layers together, they were adhered to a piece of Very Vanilla card stock which was layered on a retired gold card stock piece.  Before adhering this to the Thick Very Vanilla card stock base, a Night of Navy strip with some gold glimmer ribbon adhered to it was added near the bottom, with the ribbon ends taped on the back side of the layers.

The sentiment if from a Paper Pumpkin stamp as is the sentiment die cut and the gold foil flagged piece beneath it.
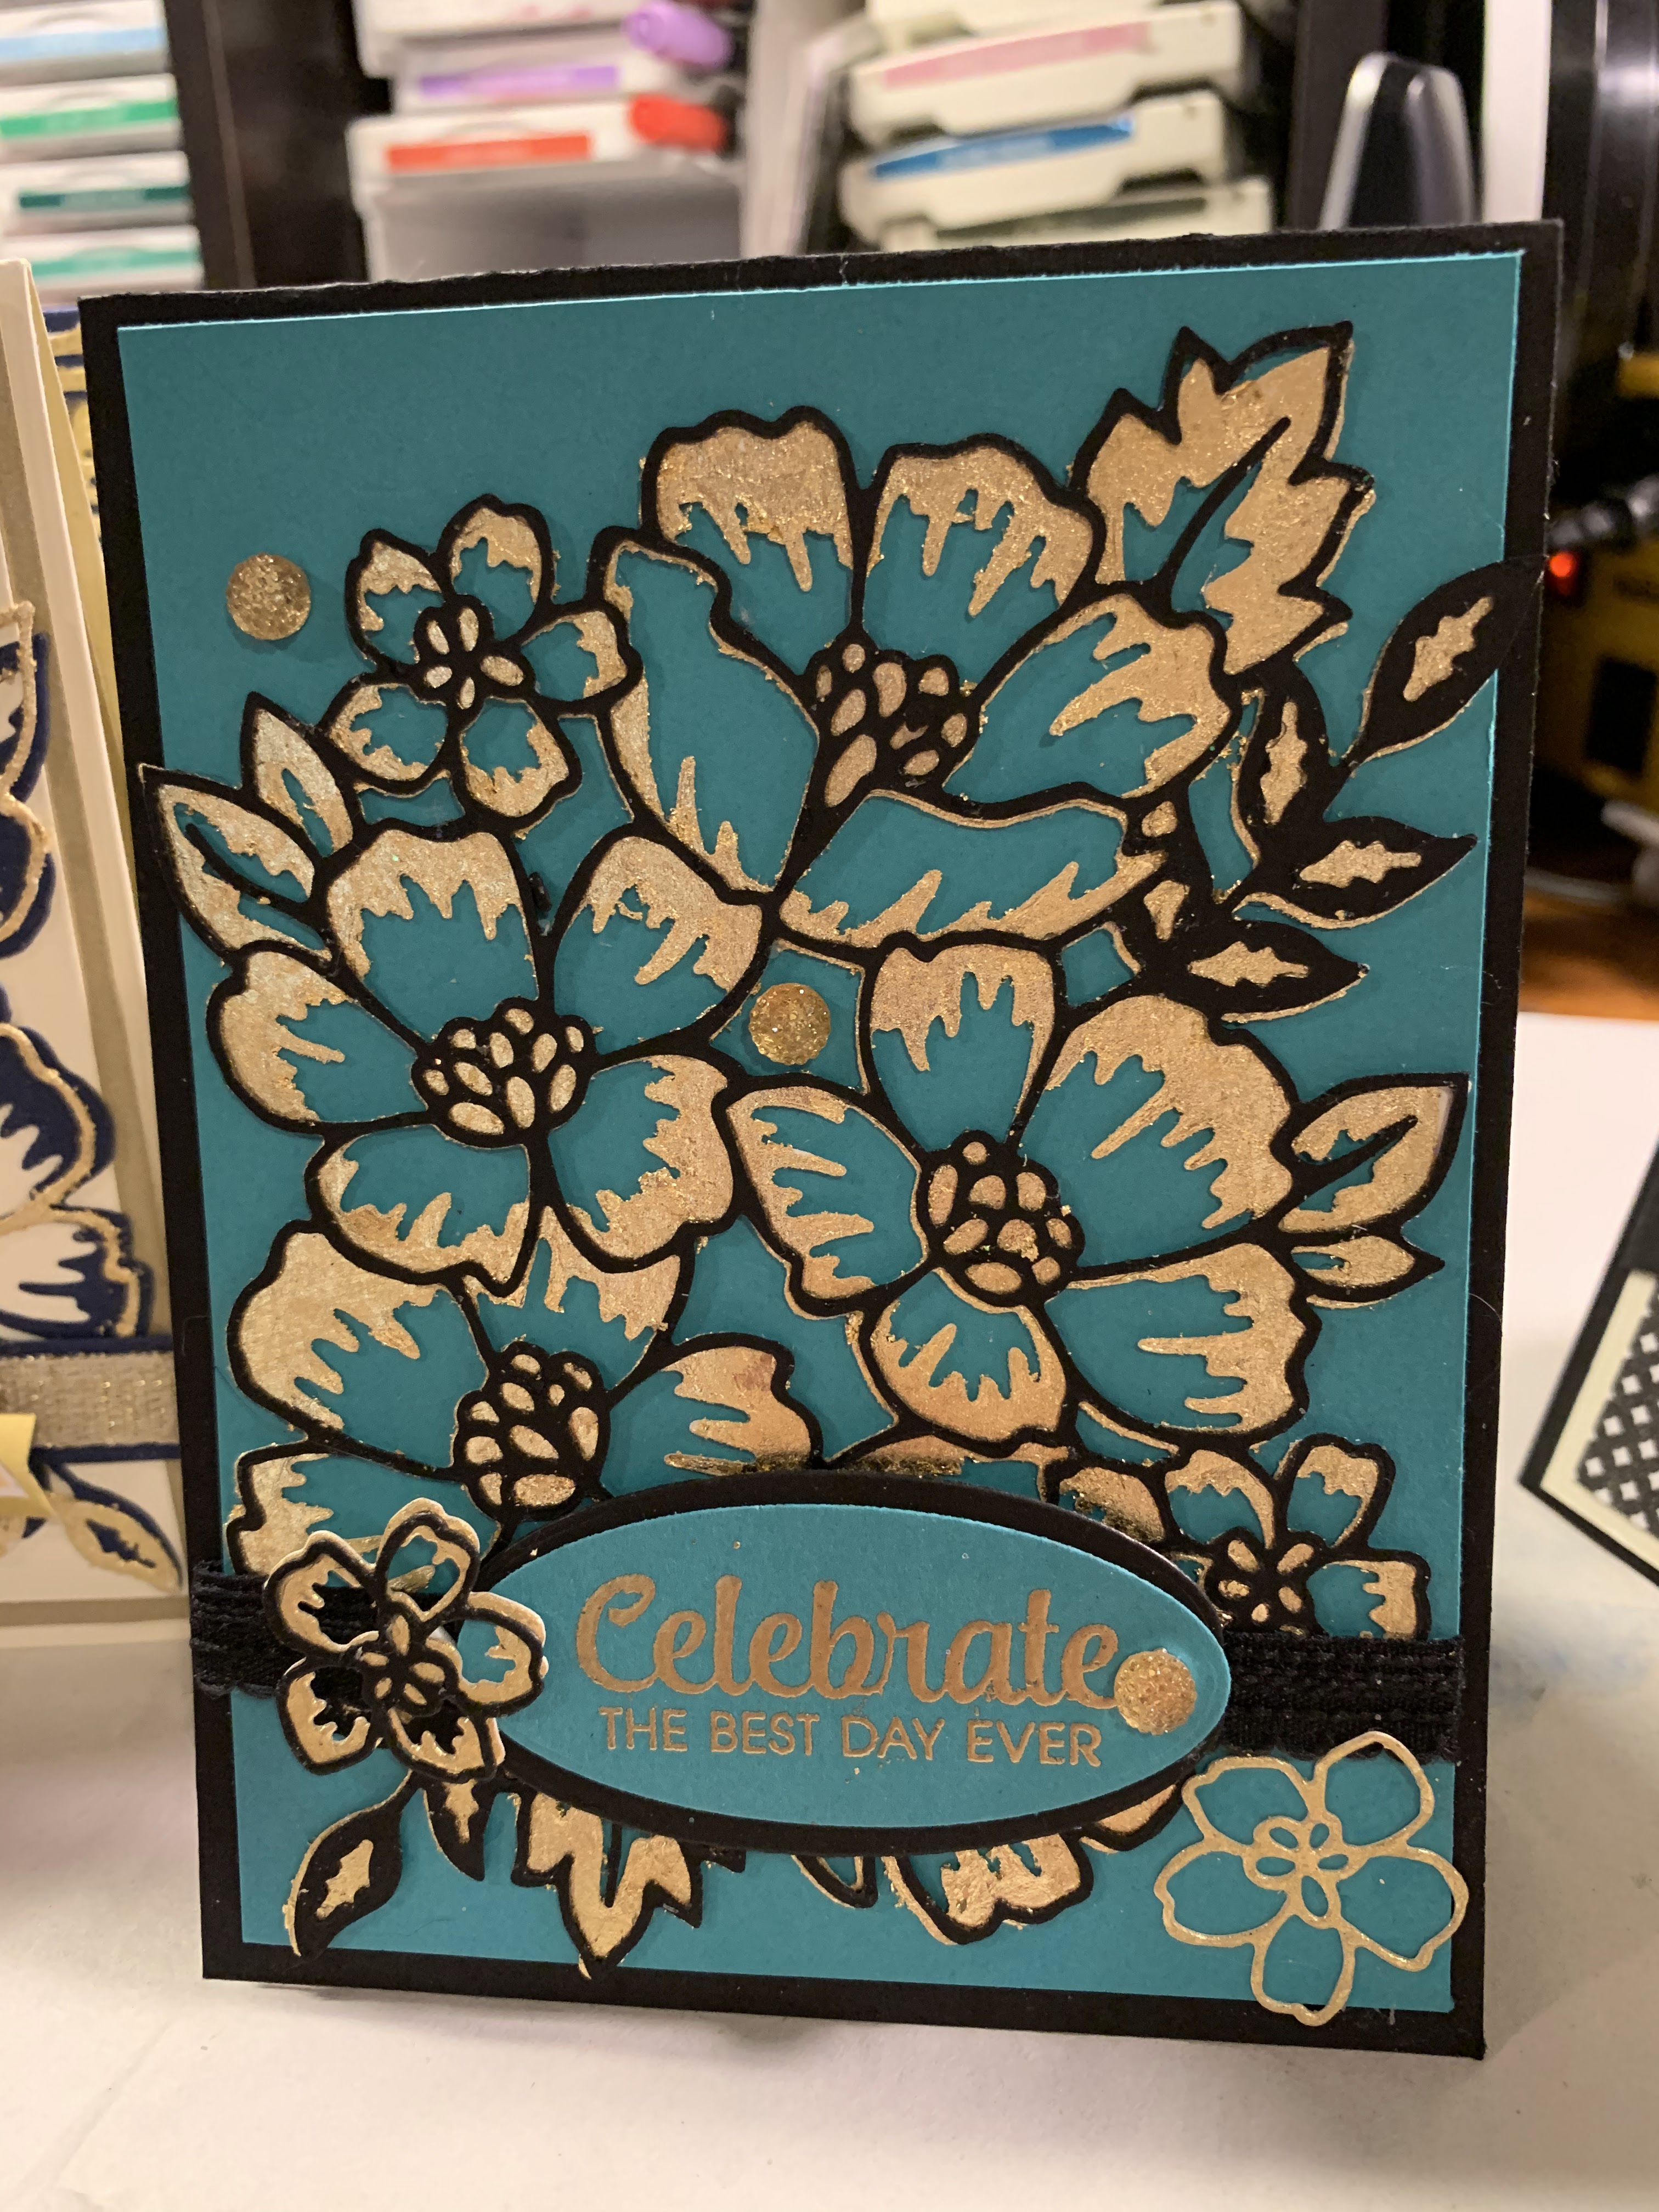
Card 2

The same die cuts were used on this card, only the gilded flakes were added to the thicker pattern layer, with a Basic Black thinner over lay.
After the 2 layers were adhered together, they were added to a Bermuda Bay layer and then to a Basic Black card base.
A Basic Black scallop ribbon is added near the bottom.  The gold embossed sentiment is from "Band Together" as is the oval die cut.


Sunday, July 12, 2020

Blossoms & Blooms Anniversary card - a tutorial

This bundle has got to be one of my favourite bundle of the Annual Catalogue.  It is so versatile!

Today I made an Anniversary card using tone on tone card stock with Platinum foil and gold ink.


Measurements:
  • Thick Very Vanilla card stock 4 1/4 by 11" scored at 5 1/2" to form a top fold card. - card base
  • Very Vanilla 3 3/4 by 5" - art piece 
  • Very Vanilla 4 1/4 by 5 1/2" - to die cut bottom blossom layer)
  • Platinum foil - 4 by 5 1/4" ( I die cut the center out to use on another project) - mat for art piece
  • Platinum foil - 4 1/4 by 5 1/2" to die cut top blossom layer
  • Scrap piece of Very Vanilla to die cut sentiment using Tasteful Labels dies
  • Scraps of Platinum foil to die cut small leaves - Forever Flourish Dies
Stamps:
  • Blossoms & Blooms
  • Many Mates
Inks:
  • Gold 
  • Versa Mark
Accessories:
  • Many Layered Blossoms dies
  • Tasteful Labels Dies
  • Forever Flourish Dies
  • 1/4" Very Vanilla gold edged ribbon
  • Dimensionals
  • Gold embossing powder
  • metallic faceted dots
Putting card together:
  • Die cut the center out of the 4 by 5 1/4" piece of Platinum foil  Do not add to card base yet
  • Using gold ink, stamp the image of the blossoms on the 3 3/4 by 5" piece of Very Vanilla
  • Die cut both pieces of Blossom dies. Note:  do not remove centers of flowers die cut pieces.
  • Adhere together using tombo glue and a sponge matching leaves and flowers
  • Adhere to art piece matching stamped image

  • Add ribbon to bottom half of card front wrapping edges around very Vanilla and platinum foil layers.
  • Add these layers to card base.
  • Emboss sentiment with gold embossing powder on scrap piece of Very Vanilla and die cut with the Tasteful Labels Die.

  • Die cut 3 small leaves from scrap Platinum foil
  • Adhere to bottom of die cut sentiment
  • Add sentiment to card front over ribbon towards the right using dimensionals.
  • Adhere ribbon to left of sentiment.

  • Finish card by adding metallic faceted dots where desired.
  • Finish inside as desired.


Thursday, June 4, 2020

Blossoms in Bloom - a catalogue partial case

One of the new bundles in the new, now available 2020 -2021 Annual Catalogue, is the Blossoms in Bloom bundle.  On page 51 of the catalogue is a picture of a card made with this bundle. This is my take of that card:


For this card I used various shades of purple and I love the effect.
The bundle consists of a photopolymer stamp set, and coordinating layered blossom dies.  Using thick whisper white card stock, I die cut the two layers of the dies.
The 'thicker' layer was coloured using the following Stampin' Blends:  Purple Posy, Highland Heather, Gorgeous Grape, Rococco Rose, Old Olive


The thinner layer was coloured with the lighter of the shades, but the centers of the flowers were coloured darker.


When done the bottom layer was added to a Thick Whisper White card base using small dimensionals placed in the back of the flower centers.  Tombo was applied to the top layer using a sponge and it was added to the other layer matching the flowers and leaves.

The sentiment is from the stamp set.

Supplies Used:
Stamp:  Blossoms in Bloom
Inks:  Black Memento, Stampin' Blends (Purple Posy, Highland Heather, Gorgeous Grape, Rococco Rose, Old Olive)
Papers:  Thick Whisper White, Old Olive
Accessories:  Many Layered Blossoms Dies, Dimensionals